-

October 16, 2023
BUILDING A CRUD SYSTEM USING LARAVEL 8, LARAVEL ORION, ANGULAR 11 & JWT
In this series we’re going to be building a complete CRUD application using Laravel for REST API and Angular on the frontend. In this part, we’ll setup the API part using Laravel Orion. Laravel Orion is a new library which helps us to simplify the API development for our application.
We will start with a fresh installation of Laravel. On this tutorial we will be using composer to create a new Laravel project. However, you can use any other ways to create your project as described in the Laravel docs.
Let’s create a new Laravel project named “crud-app” using the following terminal command:
composer create-project laravel/laravel crud-app
This will create a new Laravel project in the directory you execute the command from. Now, we’ll need to switch to our app directory and start our application using:
cd crud-appphp artisan serve
If everything works well, you Laravel app should now be up and running at: http://127.0.0.1:8000/. This will be our base url which we are going to use later for our API.
Next, let’s install the Laravel Orion package, which, we will be using to build our APIs.
composer require tailflow/laravel-orion
Now, we’re ready to start with our API development. We’ll be creating a simple CRUD for managing articles, which will have a title and content. For this you will need to connect our application to the database. So, we’ll be updating our database details on the .env file of our Laravel project. For this tutorial I’m using a MySQL database with the following details. You will need to configure the database configurations according to your database installation.
DB_CONNECTION=mysql
DB_HOST=127.0.0.1
DB_PORT=3306
DB_DATABASE=laravel_crud_app
DB_USERNAME=root
DB_PASSWORD=developer
After we’ve setup our database configurations, we’re ready to create our articles table. For this we’re going to generate a database migration using:
php artisan make:migration create_articles_table
This should generate a new class named CreateArticlesTable at the database/migrations folder. We’ll now add these two lines on the up() method of this class.
$table->string('title');
$table->string('content');
So, our complete class would look like this:
<?php

use Illuminate\Database\Migrations\Migration;
use Illuminate\Database\Schema\Blueprint;
use Illuminate\Support\Facades\Schema;

class CreateArticlesTable extends Migration
{
    /**
     * Run the migrations.
     *
     * @return void
     */
    public function up()
    {
        Schema::create('articles', function (Blueprint $table) {
            $table->id();
            $table->string('title');
            $table->string('content');
            $table->timestamps();
        });
    }

    /**
     * Reverse the migrations.
     *
     * @return void
     */
    public function down()
    {
        Schema::dropIfExists('articles');
    }
}
Now, lets run our migration using the following command:
php artisan migrate
This command will create the articles table on our database along with other tables like users, password_resets etc which are shipped with Laravel by default.
CREATING THE REST API
Now we’ll focus on creating the rest API. First, let’s create a model class for our Article using:
php artisan make:model Article
This will generate a new model class Article for us inside the App/Models package. This class will now help us to interact with our articles table in order to insert, retrieve, update or delete the data. We’ll need to specify which attributes are mass assignable by specifying the attributes on the $fillable property of the class. We’re going to make our attributes title and content as mass assignable as we’re going to be inserting these properties into our table from the REST API.
<?php
namespace App\Models;
use Illuminate\Database\Eloquent\Factories\HasFactory;
use Illuminate\Database\Eloquent\Model;
class Article extends Model
{
    use HasFactory;
    protected $fillable = ['title', 'content'];
}

Next, let’s create a new controller using:
php artisan make:controller Api/ArticlesController
We’ve created this new controller inside the Api Package. We’re going to place all our Api controllers under this package. By default the ArticlesController is going to extend the default Laravel controller, we must extend it from Orion\Http\Controllers\Controller since we’ll be using Orion Controller.
We’ll need to define a protected $model property and set it to the fully-qualified model class name. In our case we’ll set it up to the Article class we created earlier.
We will also use the DisableAuthorization trait for now, as we’ll work with authentication later. Using DisableAuthorization trait will make all our APIs under this class to be accessible without any kinds of authorisation. This however should not be done on actual production code.
<?php
namespace App\Http\Controllers\Api;
use App\Models\Article;
use Orion\Concerns\DisableAuthorization;
use Orion\Http\Controllers\Controller;
class ArticlesController extends Controller
{
    use DisableAuthorization;
    protected $model = Article::class;
}
Next, we’ll need to register our routes on routes/api.php in order to expose our api paths.
<?php
use App\Http\Controllers\Api\ArticlesController;
use Illuminate\Support\Facades\Route;
use Orion\Facades\Orion;
Route::group(['as' => 'api.'], function() {
    Orion::resource('articles', ArticlesController::class);
});
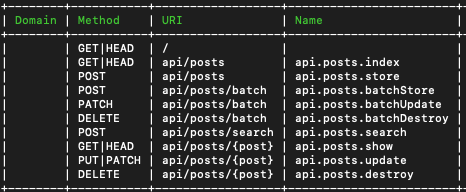
You can run the following command to see the list of available routes:
php artisan route:list

We can now use these APIs to perform our crud operations.
CONSUMING OUR REST API:
Now, we’re going to consume the REST API we’ve created to create new articles, read the articles, update it and delete it.
CREATE:
First let’s create a new article by making a post request to our API api/articles. We’ll be passing the title and content values as a JSON body. In the header we’ll use the Content-Type: application/json.

After we fire this request, the article will be saved on our articles table and we should get the following as response with status code 201.

READ
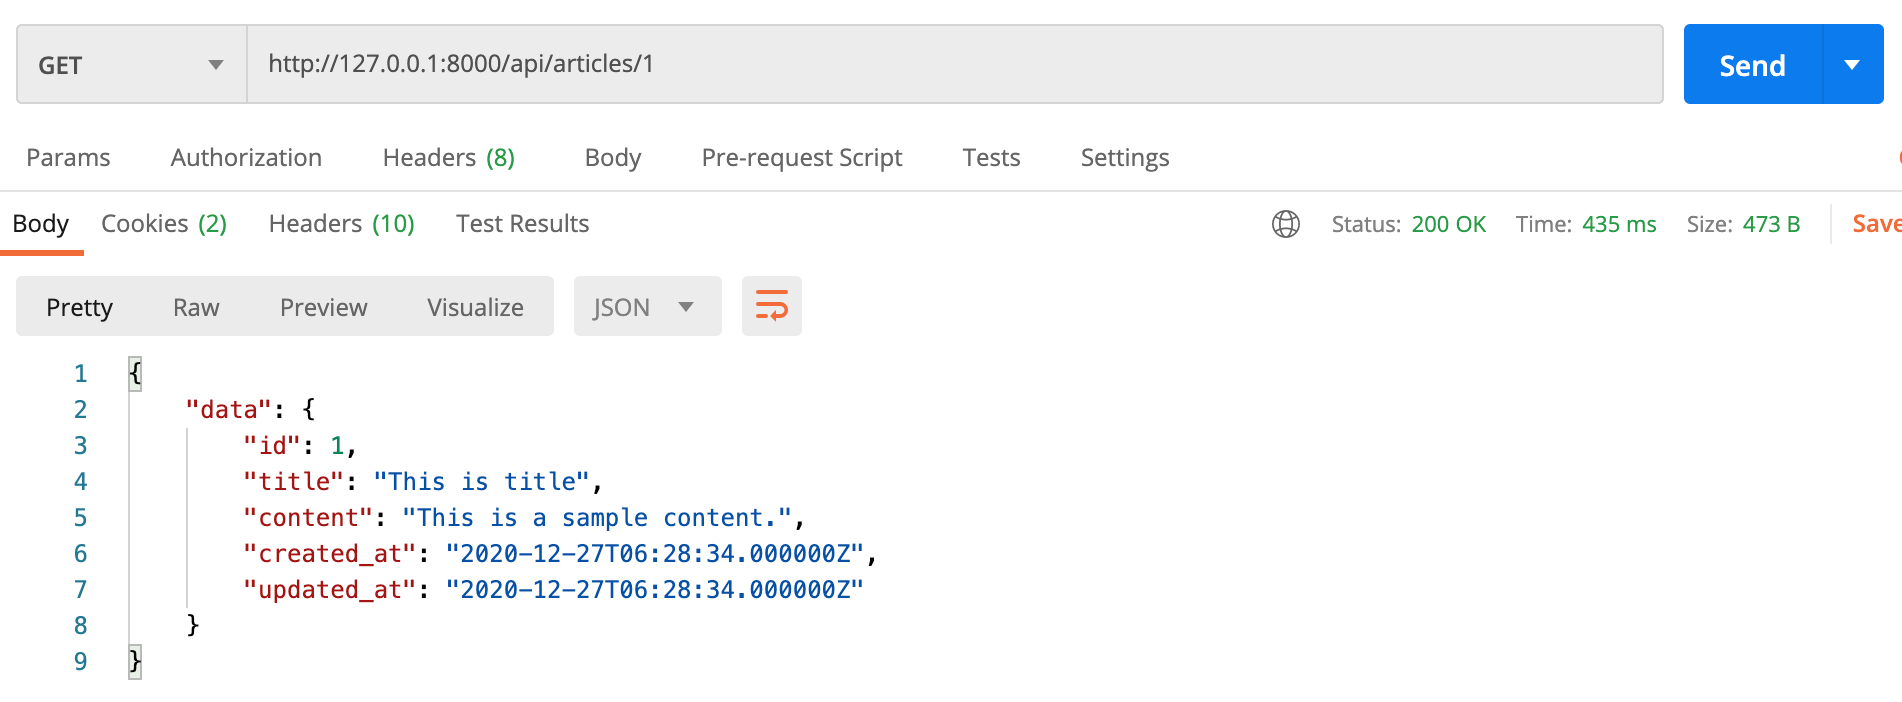
We can now read the article we just created by making a GET request on api/articles/{id}. Here on the {id} we’ll pass in the id of the recently created article which is 1. We should be able to get the details of our recently created article.

We can also retrieve all the list of articles by making a GET request on api/articles. You can create some new articles and then make a request on this api to see a list of articles. The response should be something similar to this:https://shr3jn.medium.com/media/2ff9c429ea47043691c8273f7073d275
Here, along with our data attribute, we can see some other attributes as well which can be used for pagination. We’ll not go into details of this, as this is beyond the scope of this article.
UPDATE
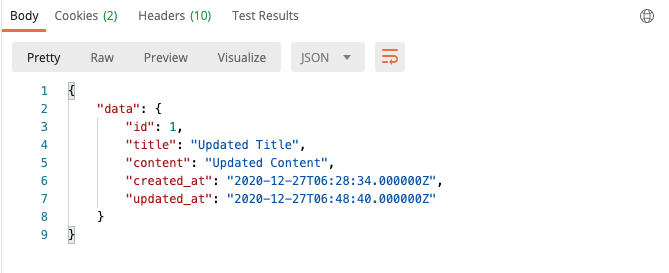
Next we’ll update the article we’ve created earlier. For this, we’ll need to make PUT/PATCH request to our endpoint api/articles/{id}. Here {id} is again the id of the article that we wish to update. Let’s change the title of our first article to “Updated Title” and content to “Updated Content”. Also we’ll pass Content-Type: application/json as header.

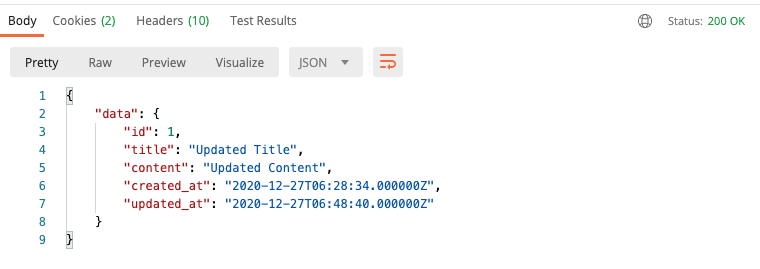
Once we fire this request, it will update the title and content of the article with id 1. You should receive the following response with status code 200.

You can also test this by making a get request with the article id which should now return the updated values.
DELETE
Finally, we’re going to delete the article that we created by making a DELETE request to /api/articles/{id}. Again, {id} is the id of article that we wish to delete.

When you fire this request, you will receive the data of the article with Status Code 200 which mean that the article is now deleted.

Now, let’s try to read this article by making a request to /api/articles/1.

It should now result in 404 Not Found error, since the article has been already been deleted.

We’ve easily setup our REST API in order to perform the CRUD operations using Laravel Orion. On this part, we consumed our APIs using postman. In the next part we’ll be build the UI for our CRUD app using Angular.
Please feel free to post your queries on the comments section. You can also checkout the GitHub project at: https://github.com/manishpg83/laravel-crud-app
- No comments yet
- By Admin
Comments